Bike Maintenance Basics - Fixing a Flat Tire
Flat tires are an unfortunate but inevitable part of cycling. But with a little bit of knowledge and a few basic tools, you can fix a flat tire quickly and easily, and get back on the road in no time. In this blog post, we'll go over the steps of how to fix a flat tire on a bicycle.
The first step in fixing a flat tire is to remove the wheel from the bike. Depending on your bike, this may involve releasing the brake pads and then removing the quick-release lever, or using a wrench to loosen the axle nuts. Once the wheel is removed, you can access the inner tube.
Next, locate the hole in the inner tube. This can often be found by feeling for a small bump or by inflating the tube and listening for the sound of escaping air. Once you've found the hole, mark it with a pen or marker so you can easily find it again.
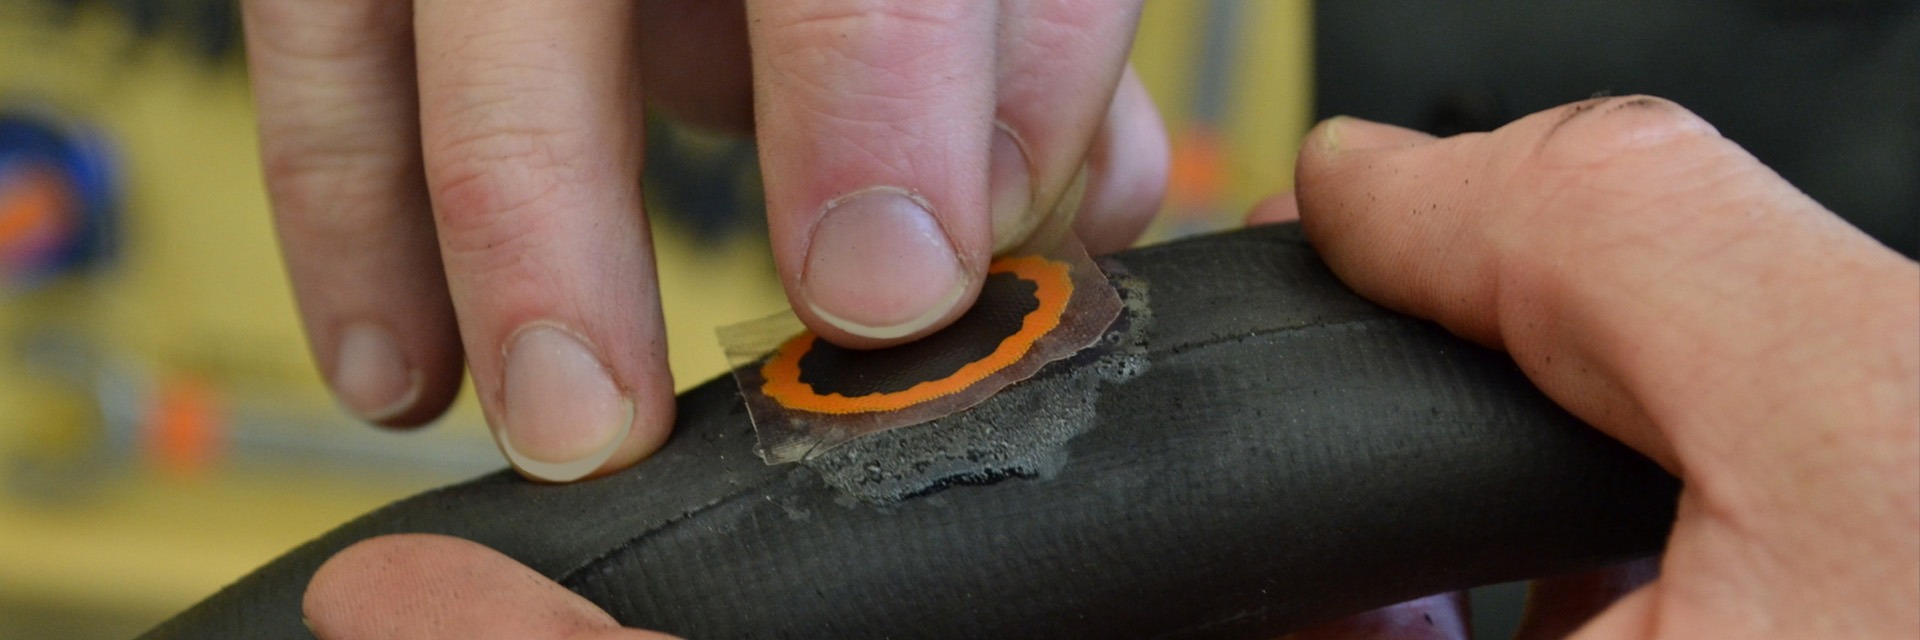
Now it's time to patch the inner tube. For this, you'll need a patch kit, which typically includes a small piece of rubber, an adhesive, and a metal rasp. Clean the area around the hole with the rasp, then apply a small amount of adhesive to the patch and press it onto the hole. Allow the patch to dry for a few minutes.
Once the patch is dry, you can re-inflate the inner tube and re-install it into the tire. Make sure the tube is properly seated within the tire, and that there are no twists or kinks. Finally, reinstall the wheel on the bike, making sure the brakes and quick-release lever or axle nuts are properly adjusted.
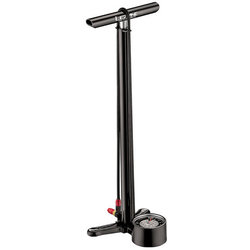
It's a good idea to carry a patch kit and a pump with you when you ride, so you'll be prepared in case of a flat. Additionally, it is important to check your tire's pressure regularly, and check the tire for debris, cuts or worn out tread before each ride to avoid flats.
Fixing a flat tire on a bicycle may seem daunting at first, but with a little bit of practice, it will become a simple task. With the right tools and a bit of know-how, you'll be back on the road in no time.